
Our home hair colors have been carefully blended to be gentle on your hair and skin. However, over time, anyone can develop a sensitivity to ingredients in any hair color, even those with natural formulations.
That’s why we always recommend conducting a skin sensitivity test 48 hours before you color your hair. This simple step ensures your safety and helps prevent adverse reactions.
Additionally, a hair strand test lets you preview how your chosen shade will look on your hair before fully applying it. Below, we provide detailed guidance for both tests to help you achieve beautiful, safe results.
How to Perform a Skin Sensitivity Test
Even if you’ve used hair color products for years without issue, your body’s response to ingredients can change over time. Factors like stress, hormonal shifts, or exposure to other chemicals may increase the likelihood of developing a sensitivity.
Hair dyes, even those with natural and gentle formulations, contain compounds that could trigger an allergic reaction in some individuals. A patch test serves as an early warning system, helping you identify potential sensitivities before applying the product to your entire scalp.
Taking this precaution protects your skin and ensures a more enjoyable and stress-free coloring experience. It’s a simple step that can save you from discomfort and complications.
Here’s how:
- Prepare the area: Wash and dry a small skin patch inside your wrist or elbow. This area is sensitive and ideal for detecting reactions.
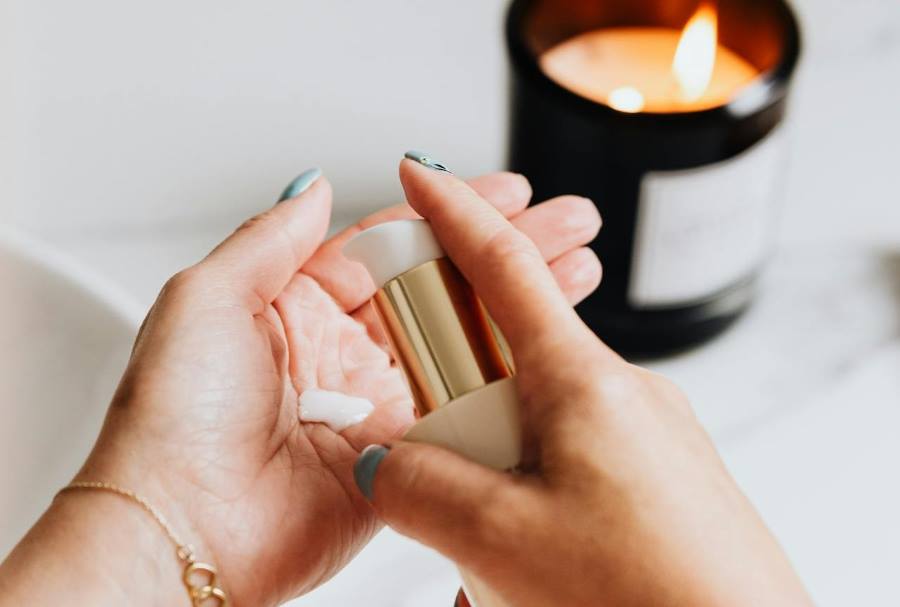
- Apply the product: Using a cotton swab or your fingertip, apply a small amount of Colour Gel (from our small recyclable green bottle) to the prepared area.
- Allow to dry: Let the product dry naturally. You may leave it uncovered or cover it with an adhesive bandage for 2 hours.
- Monitor for reactions: Check for signs of irritation, such as redness, soreness, itching, burning, or swelling. If any reaction occurs, rinse the area immediately with cool water and avoid using the product.
- Wash off and observe: After 2 hours, gently wash off the Colour Gel. Continue monitoring the area for the next 48 hours. If no reaction occurs, you can proceed with your hair color application.
Important Note: Always perform a skin sensitivity test before every application, even if you’ve used the product. Sensitivities can develop unexpectedly, and this step ensures your safety.
Hair Strand Test for Permanent and Henna Cream Hair Dyes
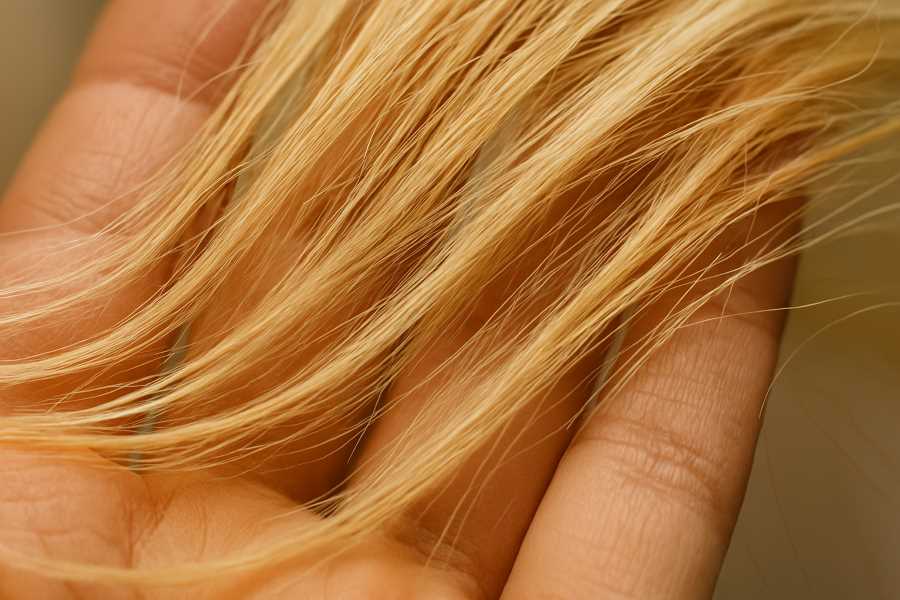
A strand test is more than just a preview of your potential new shade. It’s a way to ensure the color works harmoniously with your unique hair type and condition.
Your hair’s porosity, previous treatments, and natural pigment levels influence how a dye interacts with your strands.
For example, highly porous hair may absorb color more quickly, leading to unexpected results, while resistant hair may require longer processing times.
By testing on a small section of hair, you can gauge how the color will lift, tone, or blend with your existing shade.
This process gives you greater control over the outcome and allows you to experiment with timing and application techniques.
It’s essential to avoid costly mistakes and achieve salon-quality results at home.
Follow the guidelines below:
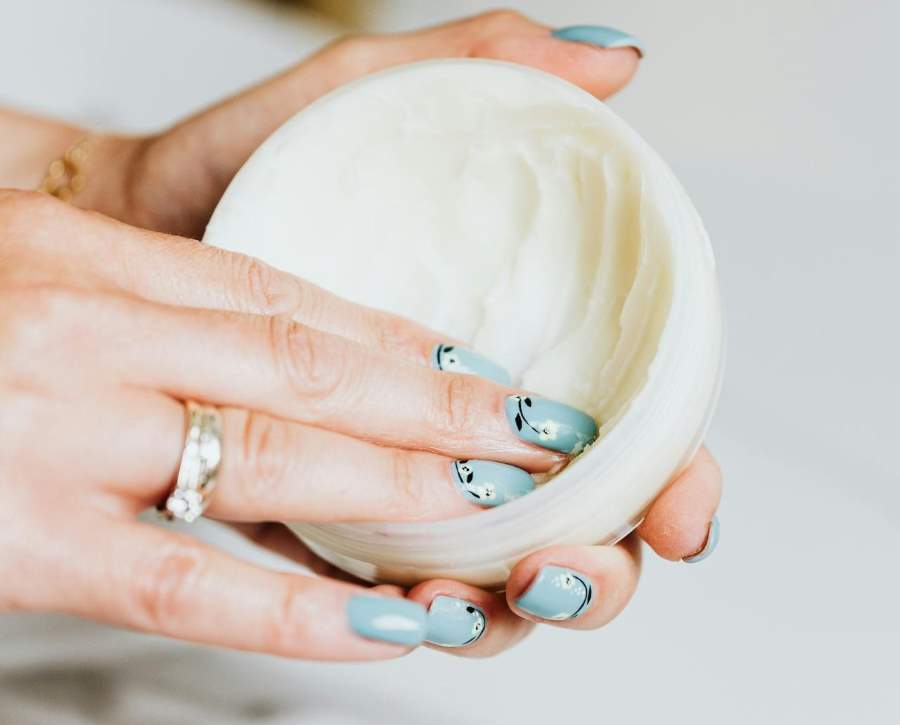
- Prepare the mixture: For permanent hair dye, use a plastic bowl (or our Tints of Nature Mixing Set) to mix one capful of Colour Gel with one capful of Colourfix, ensuring you avoid using metal utensils or bowls. For Henna Cream, shake the color bottle thoroughly before use.
- Protect your hands: Put on your gloves- these can be found in your Tints of Nature pack.
- Select a test strand: Take an approximately 1cm strand of hair. (If you want to banish grey hair, ensure there is some grey hair in the strand.)
- Apply the color: Apply the color mixture evenly to the selected strand, working from the root to the tip for complete coverage.
- Allow time to process: After application, remove and set aside the gloves (you’ll need them later for the whole application) and allow the color to process for 30 minutes.
- Reveal the results: Rinse the strand thoroughly with warm water, then gently blow-dry it to reveal the final color result.
Easy-Peasy!
Hair Strand Test for Highlight and Lightener Kits
Highlighting and lightening require precision, as these processes chemically alter your hair’s structure to achieve the desired lift. You risk uneven results, excessive damage, or unintended tones without proper testing.
A strand test helps you determine the ideal processing time based on your hair’s condition and the level of lift you’re aiming for. Monitoring the strand during the test ensures you don’t over-process, which can lead to heat, brittleness, or breakage.
Conducting this test gives you valuable insights into how your hair reacts to the formula, allowing you to proceed with confidence during the entire application. This step is crucial for achieving natural-looking highlights or bold, vibrant, lightened shades.
Do the following:
- Prepare the mixture: Begin by putting on your gloves. Using a plastic spoon and the Tints of Nature Mixing Bowl (or the bowl included in your pack), mix half a teaspoon of Lightening Powder with one and a half teaspoons of Cream Activator. Blend thoroughly into a smooth paste. If using the Lightener Kit, add half a teaspoon of Protective Oil and blend until the mixture forms a soft cream.
- Apply to a test strand: Take a small strand of hair, approximately 1 cm wide, and apply the mixture evenly. Allow it to process for 10 minutes.
- Assess the lift: Using a paper towel, gently wipe the strand clean and evaluate the level of lift at the roots, mid-lengths, and ends. This will help you gauge how the lightener interacts with your hair.
- Reapply if needed: If the desired lift and shade haven’t been achieved, reapply the mixture to the same strand and check every 5-10 minutes. Do not leave the formula on for longer than 45 minutes. If your hair begins to feel hot or appears significantly weakened during the test, rinse it off immediately and discontinue use. Remember that development times may vary based on your hair’s color and condition.
- Record results and cleanse: Once you’ve achieved your desired shade, note the total development time for future reference. Rinse the test strand thoroughly with water to remove the mixture and cleanse your hair.
There you have it!
Wrapping up
Our home hair colors are thoughtfully formulated to be gentle on your hair and skin, but it’s important to remember that sensitivities can develop over time. Performing a skin sensitivity test 48 hours before application is a vital step to ensure your safety and prevent any adverse reactions.
Likewise, a hair strand test allows you to preview your new shade and helps you tailor the process to your unique hair type and condition, ensuring professional-quality results from the comfort of your home.
By following these simple yet crucial steps, you can confidently color, highlight, or lighten your hair while minimizing risks and maximizing satisfaction.
Preparation is the key to achieving beautiful, healthy-looking results. So, take the time to test, observe, and adjust before completing your application. With this guideline, you’re well-equipped to transform your look safely and effectively. Happy coloring!
